Learn How to Perform Excel to vCard Conversion Manually

Excel to vCard

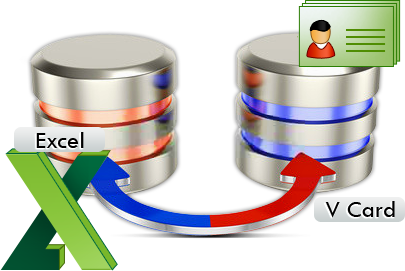
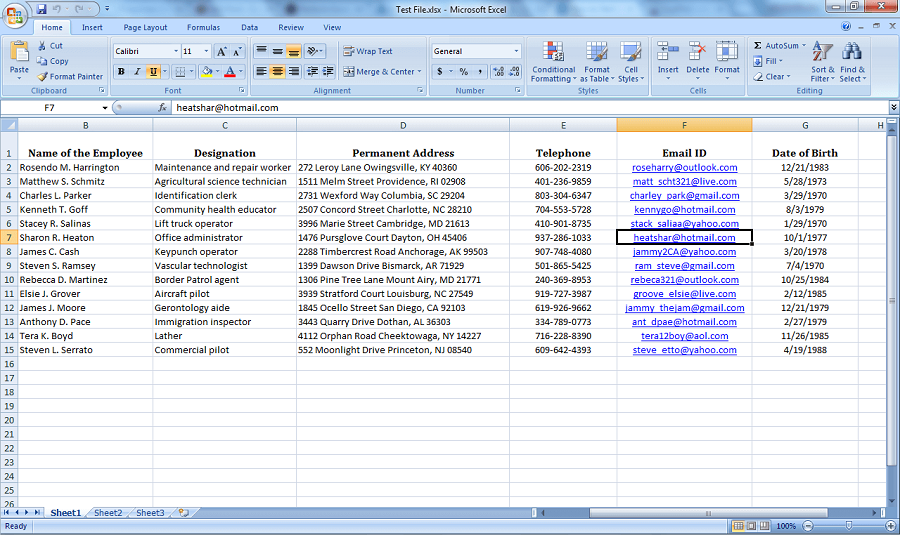
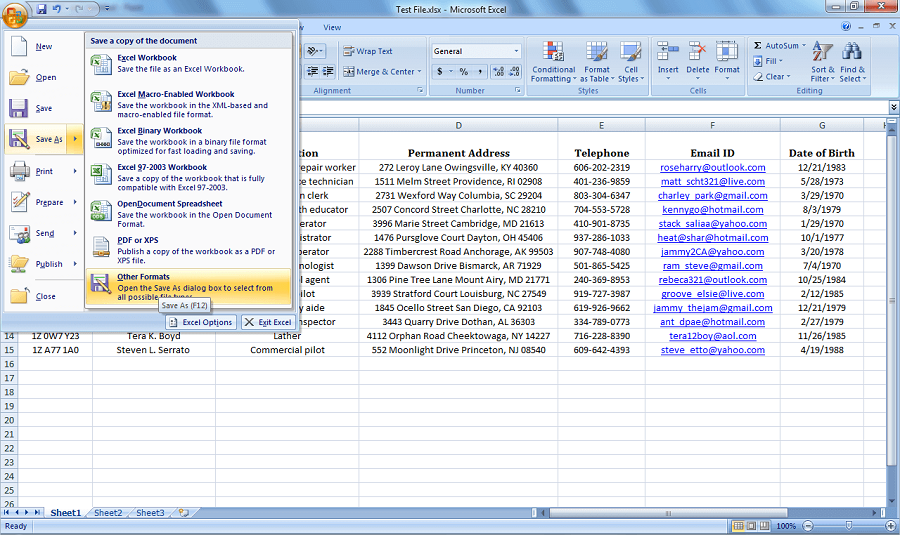
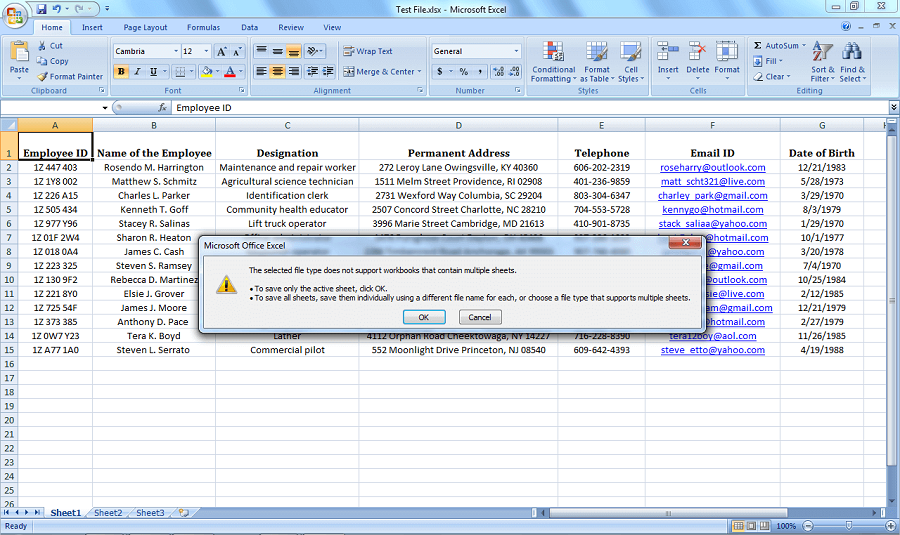
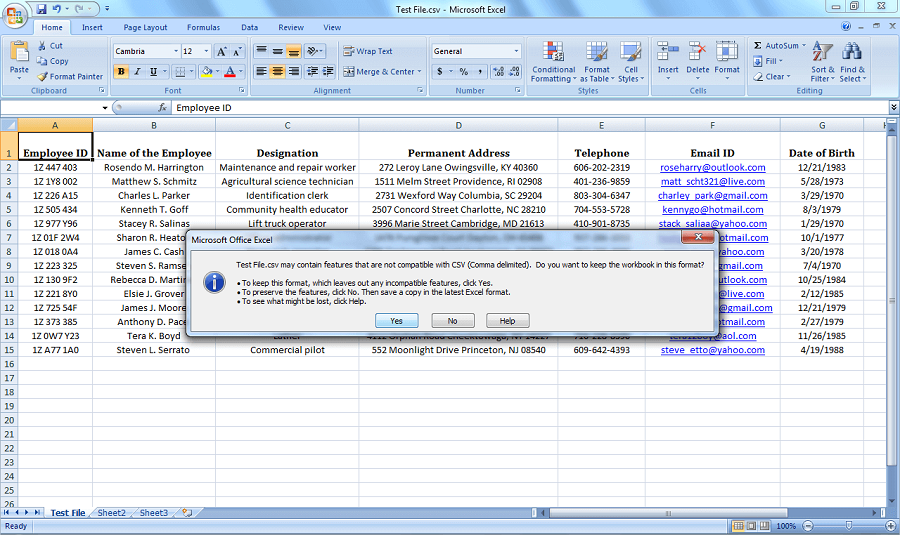
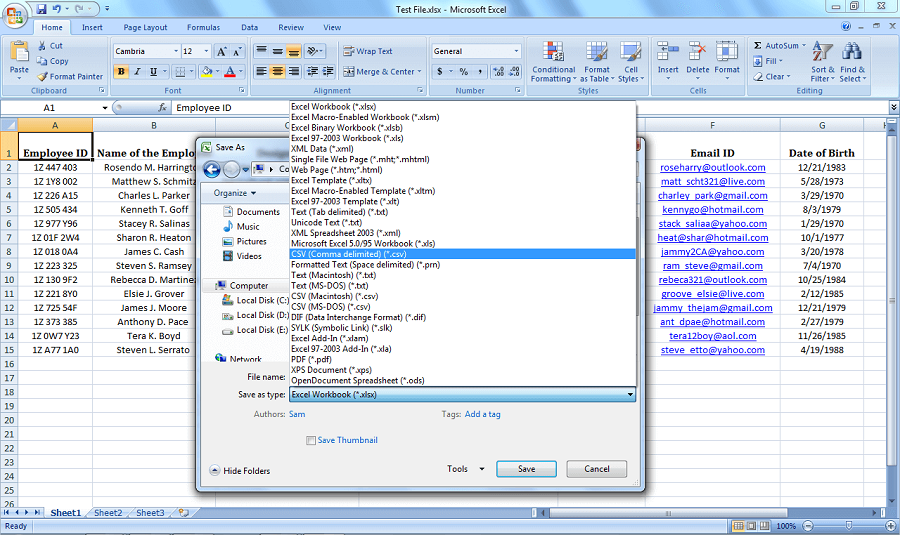
Nowadays, most of the users who working on MS Excel to store contacts and all other associated details for a long time are exporting contacts to vCard. The VCF file or vCard is really famous among users to maintain contacts and all other details in a standard format. It is the format supported by almost all applications such as Outlook, Thunderbird, etc. In addition, a vCard file can keep all name, address, phone number, email address, and all other contact details. Therefore, in this post, we have discussed a manual approach to performing Excel to vCard conversion to fix all queries related MS Excel (.xls or .xlsx) to vCard migration.

Benefits of Using vCard Format

MS Excel is the common application to maintain a large amount of data, in this fast growing technology world, keeping contacts in Excel workbook is outdated. Though Excel file can store a large number of contacts, they are hard to be shared separately via email or any other medium. On the other side, a vCard can easily store each contact in a standard format that can easily be shared with computers and networks. Apart from all this, the vCard file is highly compatible with various devices such as online & offline email applications and all other popular platforms. It is one of the major reason that replaced Excel from contacts.

Manual Trick to Convert Excel to vCard

If you are searching for a solution to export Excel contacts to vCard, then here is a manual method to do the same. However, the manual conversion is a break in three different parts:

  1. Excel to CSV Migration
  2. Import Contacts from CSV
  3. Export Contacts to VCF File

Steps to Export Excel to CSV

In order to perform Excel to vCard conversion manually, the first step is export Excel contacts to CSV format. Now, to do the same, follow the steps mentioned below:

1. To begin, open the Excel workbook (XLS or XLSX) on your local machine that you want to export in CSV format

1

2. After that, click on Office button >> Save As >> Other Formats option or press F12

2

3. Now, specify the location of new CSV file and you can also provide it some also

4. Then, choose to Save as type: CSV (Comma delimited) (*.csv) and click on Save button

3

5. If the workbook contains multiple sheets, a message will pop-up. You need to click on OK button to save the sheet

4

6. After this, another message is also displayed on the screen to keep the chosen file in the same format, click on Yes option.

5

Steps to Import Contacts from CSV Format

After converting Excel contacts to CSV format, it’s time to import all the contacts to the local from the resultant CSV file. To do the same, follow the steps listed below:

1. To begin, hit Windows icon key and type contacts in the search field. Under Program List, click on Contacts option

6

2. Click on Import tab to import contacts to the system

7

3. An Import to Windows Contacts dialog box will pop-up. Click on CSV (Comma Separated Values) option >> Import button

8

4. Now, click on Browse button to locate CSV file that you want to import

9

5. Here, choose the CSV file that you want to save on your system and click on Open button to select the file

10

6. Click on Next button to continue the process

11

7. After this, map the contacts and text field such as check the Name of the Employee field

12

8. Now, you need to select the contact field for the text field: Name of the Employee and click on OK button

13

9. Like this only map all the fields. As the mapping process completes click Finish to begin the import process

14

Steps to Migrate Contacts to vCard

As you have imported contacts successfully on the system from CSV file now, you can export them easily to new vCard (.vcf) files. For this, follow the steps given below:

1. Again go to the contacts window of your local machine and choose all the contacts that you want to export to VCF file format. Then, click on Export tab

15

2. An Export Windows Contacts dialog box will pop-up. Choose the vCards (folder of .vcf files) option and click Export button

16

3. Now, you need to choose destination location for VCF export. If you want, can create a new folder also. After selecting the location, click OK button

17

4. Wait for few seconds, all contacts are exported to VCF file format and click on OK to end the process.

18

This complete procedure will help you in exporting all your Excel contacts to vCard. Now, it will be easy for you to access it in any other supporting application also.

The Bottom Line

After understanding the requirement of the user to Export Excel to vCard, we have discussed a manual trick that a user can use in case of a small number of contacts. However, if there are a large number of contacts, then it is not a good solution. It becomes very lengthy and time-consuming procedure. Thus, in order to have an effortless solution in the case of numerous contacts, one can go for a commercial solution i.e. Excel to vCard Converter. It is the tool that is programmed especially to export any number of contacts from Excel to vCard without any hassle.